“Help, my iPhone is disabled and I want to connect to iTunes without restoring my phone. What do I do?” A very good question. One that requires an in-depth answer. While it is easier to recover your disabled iPhone via iTunes once you have taken the proper backups, it is not so easy when you have no backups on which to rely. Here are your options to undisable an iPhone.
Undisable iPhone Via iCloud
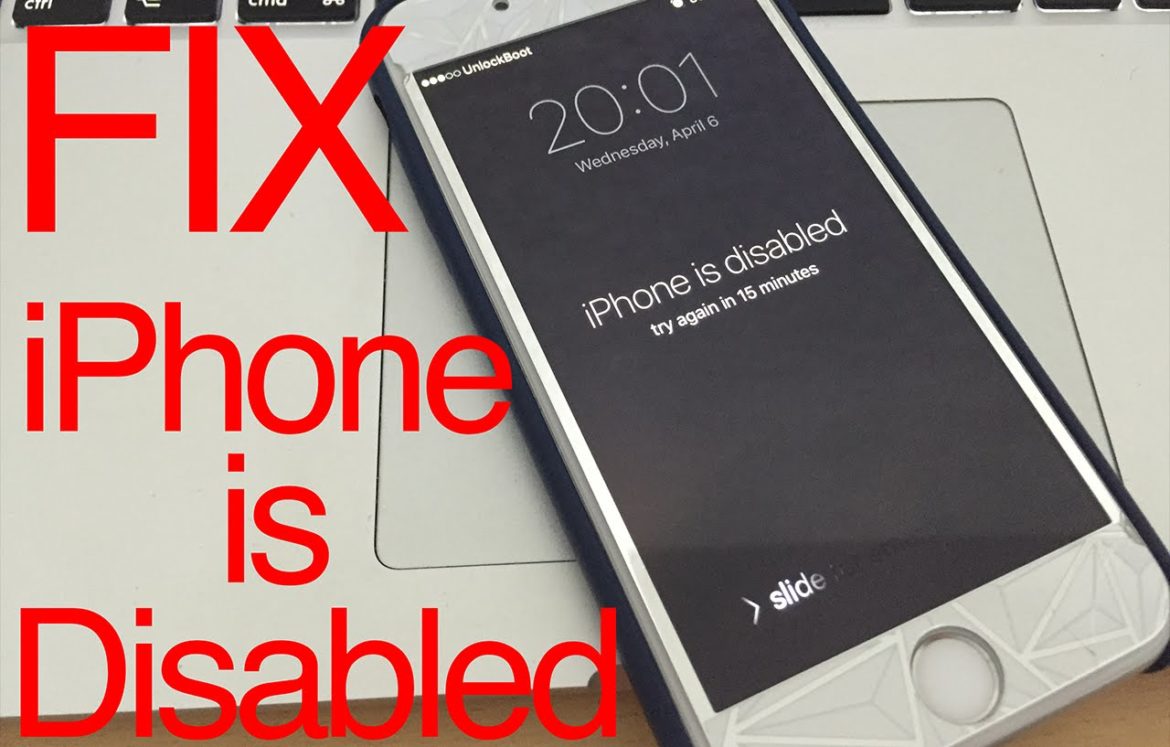
If your iPhone says ‘iPhone is disabled.Try again in X minutes’ or, worse, ‘iPhone is disabled. Connect to iTunes‘ you can use iCloud to restore your iOS device. Of course, you must have synced your device with iCloud to have some form of your iPhone data in storage.
In this case, fixing the disabled iPhone via your iCloud account requires you to restore your device and then restore the iPhone’s data via iCloud. For example, if your iPhone is disabled due to inputting the passcode incorrectly, you can use another iOS device like a Mac, iPad or iPod Touch to verify what data you have backed up to iCloud.
- Log in to your iCloud Account via Settings → iCloud
- You use your Apple ID to log in.
- Sync the device (obviously not the disabled device mate) to see if contacts, mail, photos and other app data are backed up.
- If they are, then restore your device (follow the steps below) and then, restore the iCloud backup on that device to retrieve all your information.
iPhone Is Disabled? Connect To iTunes
- Connect your iPhone to the computer
- Open iTunes
- Select the iPhone (from the side panel or from top-right of the screen)
- In the Summary tab, click on Restore
- If iTunes proceeds with a problem-free restore, you will lose data saved on your phone (but not to worry, you have an iCloud backup) and it will be restored as a new device. You can then carry on restoring it from an iCloud ID.
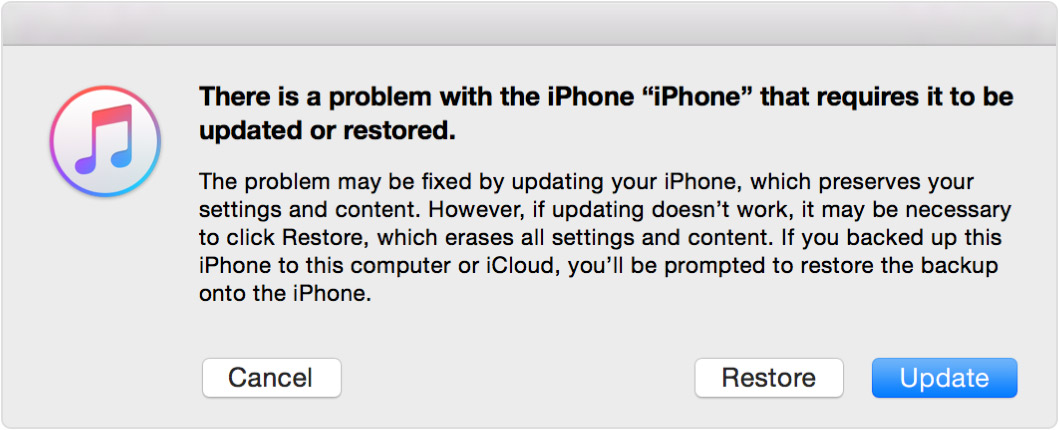
- If iTunes encounters errors, you need to restore your device using Recovery Mode.
- Press and hold Power and Home buttons until your iPhone displays a black screen.
- Now connect the iPhone to iTunes and restore (iTunes automatically detects that a device is in recovery mode).
No Backup Available
Some of us never sync or iOS device with iTunes or set up Find My iPhone. If you are in this category, you definitely have to use recovery mode to restore your iOS device. This erases all the data on the phone including the passcode. There is no other way to get back your data without some sort of back up. Hence, you must start from scratch.
Connect your iOS device to your computer and open iTunes. While your device is connected, force it to restart:
How To Enter Recovery Mode On iPhone 8
- On an iPhone 8 or iPhone 8 Plus: Press and quickly release the Volume Up button.
- Then press and quickly release the Volume Down button.
- Finally, press and hold the Side button until you see the recovery mode screen.
How To Enter Recovery Mode On iPhone 7
- On an iPhone 7 or iPhone 7 Plus: Press and hold both the Side and Volume Down buttons at the same time. Keep holding them until you see the recovery mode screen.
How To Enter Recovery Mode On iPhone 6 And Earlier
- On an iPhone 6s and earlier, iPad, or iPod touch: Press and hold both the Home and the Top (or Side) buttons at the same time. Keep holding them until you see the recovery mode screen.
When you see the option to Restore or Update, choose Restore. iTunes then downloads the necessary software for your device. If it takes more than 15 minutes, your device will exit recovery mode and you’ll need to repeat steps 2 and 3. Wait for the process to finish. Then you can set up and use your device as new. See the video below.
Lastly, do not fall for any gimmicks that promise you to unlock your device and save your data without iTunes or a computer. There is just no way official Apple way of doing this without a backup. Apple themselves state that you must restore your device. Unfortunately, videos like the one below are only misleading.
You might also like to check out these other articles relating to Apple:
- How To Delete “Documents and Data” On iPhone
- Other Storage On Mac: What Is It & How To Delete It?
- How To Turn On iPhone Flashlight
- How To Print Screen On Mac
- Best Notepad++ Alternatives For Mac OS X