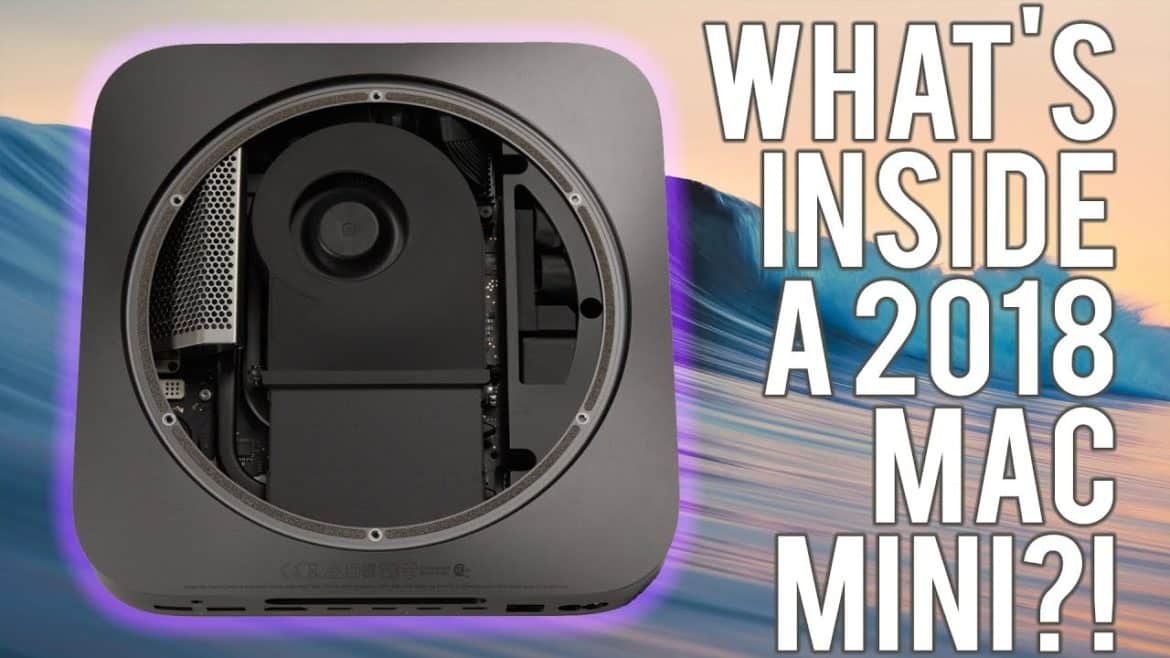
How To Upgrade 2018 Mac Mini Ram: For Apple’s Mac Mini, you can now easily upgrade the RAM. Apple decided to make the RAM removable. According to iFixit, the process is very simple and requires just 11 steps. However, Apple suggests that any modification to the Mac Mini, such as RAM replacement, be done by an Apple Store or an authorized service center.
For a relatively easy performance boost, replace the existing RAM modules in your 2018 Mac Mini. The process is very similar to that of the 2014 Mac Mini models. Up to 64GB of installed RAM is possible, using any combination of 8GB, 16GB, or 32GB DDR4–2666 SODIMM RAM modules.
iFixit
Things You’ll Need
- TR6 Torx Security Screwdriver
- iFixit Opening Tools
- Spudger
- T9 Torx Screwdriver
- P5 Pentalobe Screwdriver Retina MacBook Pro and Air
The above tools can be found on the iFixit website. Simply head over to their store to find the needed items. The cost adds up to around $28. However, this depends on which tools you buy.
iFixit also cautions:
- Do not completely remove the antenna plate; it is still connected to the Mac mini by an antenna cable.
- To save possibly damaging the antenna cable, we’re going to disconnect it. If you were really careful, you could possibly skip steps 3-7.

How To Upgrade 2018 Mac Mini RAM
To see the following guide by Trung Hoang Photography in full along with a visual (image guide) on how to upgrade 2018 Mac Mini Ram, please visit HOW TO REPLACE THE RAM IN A 2018 MAC MINI.
Open the bottom of the Mac Mini using a spudger, credit card, guitar pick. The bottom is clipped (with the ports facing you) at the
Using a TR6 screwdriver, remove the six (6) screws holding the bottom metal plate. Gently lift the plate to reveal the wire connecting the antenna.
Slide the plate off to the side to reveal a screw holding the antenna cable in place. Use a T6 (or your TR6) to remove the screw from the bracket then pop off the cable from the logic board.
The fan is held on by four (4) T6 screws. With the unit turned so the ports are facing away from you, the screws are along the two sides at an angle, on the bottom left, and bottom right. Remove those four screws and lift the fan up. Disconnect the cable from the logic board (the connector goes straight up).
With the unit oriented with the ports facing you, disconnect the small cable in the far back (indicator light I believe?). This connector goes straight up.
Next, unplug the big power connector on the right-hand side. If there is not enough room to disconnect it fully at this moment, do not worry as you will be able to do so once you begin sliding out the logic board.
To remove the logic board, unscrew the two (2) T10 (or T9) screws in the upper middle of the logic board.
With those removed, you can use a Mac Mini Logic Board removal tool or be ghetto like me and use two small screwdrivers to lever the logic board out of the casing. Once you get it moving a bit, you can also gently push the heatsink to push out the logic board.
If you didn’t fully unplug the power cable, do so now. Pull the logic board out of the case and place the case aside.
With the logic board unearthed, only a metal cage and some rubber guards keep you from the memory modules.
Remove the four (4) T6 screws from the outside of the cage. With the screws removed, slide the memory cage diagonally, at the same angle which the RAM modules are fitted.
With the cage removed, pull the rubber stoppers off at the same angle (you may need to wiggle them free a bit).
To release the memory, gently spread the thin metal clips holding the modules. The memory will spring upwards when free. Pull out the module. Do that for both modules.
To re-seat the new modules, place them into the slots, ensuring you have the correct orientation for the pins, and press them firmly down in the same angle which they were when popped free of the metal clips.
Once in firmly, gently press down on the memory module to fasten it into the two metal clips. It may feel firm, but they’ll click into place. Do this with both modules.
Once you’ve seated both modules, you’re done! Just reverse disassembly and you’ll be good to go! Couple of things to take note of when re-assembling.
- The rubber RAM guards slide in through the memory clips. The guards have little tongues that slide through a slot on the clips.
- There’s two clips on the side of the ports when you slide back in the logic board. Depressing those a touch when re-inserting ensures you don’t accidentally snap one off if you go in at a slight angle
- Don’t forget to reconnect the various cables, especially the fan and antenna cables.
Video: Late 2018 Mac Mini Teardown & Ram Upgrade + Re-assembly
For the full step-by-step walk-through, you can check out Rod Bland’s guide on iFixit. Or, you can check out the above YouTube video by Brandon Geekabit. There you have it! Three ways to upgrade 2018 Mac Mini RAM.