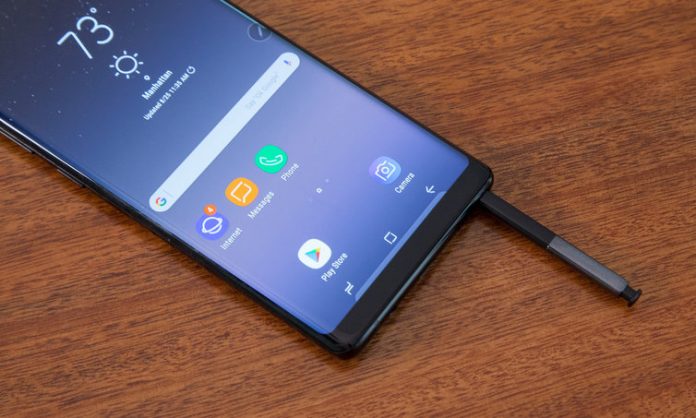
Here’s a quick and easy to follow guide on how to transfer photos fromGalaxy Note 9 to Computer. Read how to transfer photos from Android to Computer for a more in-depth guide with more options.
How To Transfer Photos From Galaxy Note 9 To Computer
- Connect your Samsung Galaxy Note 9 to your computer using a USB cable. A pop up asking to “Allow access” may appear on your device’s screen (this may not appear if you allowed it in the past).
- Your device can connect to your computer in a number of different ways, from charging only to appearing as a separate drive. To connected properly, swipe down from the top of the screen then tap on the connection that appeared. Tap the option that allows an MTP connection.
- Your device ought to become available to view on your computer. Depending on the software, you can see this by clicking on My Computer or going to Start>Computer. For Windows 10 go to This PC and scroll to Devices & drives.
- Click on your device. Your phone details appear. If you have an SD card, this also appears here.
- All the files on your phone show up. Photos are under the folder DCIM.
- If you save your photos to your SD card, you can find them under DCIM in the SD folder instead of the Phone folder.
- Drag and drop your pictures from your phone to wherever you want to save them on your computer.

Please note that you may also have images in different folders created by apps such as Facebook, WhatsApp, Snapchat, etc. Be sure to check those folders for any image that you want to transfer from your Galaxy Note 9 to your PC.
There you have it! The 7 Easy Steps To Transfer Photos From Galaxy Note 9 To Computer. Here are more Galaxy Note 9 tutorials:
- 2 Easy Ways To Factory Reset Samsung Galaxy Note 9
- 6 Easy Steps To Reboot Galaxy Note 9 In Safe Mode
- 3 Easy Fixes For When Samsung Galaxy Note 9 Won’t Turn On
- 9 Easy StepsTo Clear Cache Partition Samsung Galaxy Note 9
- 10+Easy Ways To Fix Galaxy Note 9 Battery Drain Problems
- 3 Simple Ways To Turn Off Bixby On Galaxy Note 9
- 3 Easy Steps ToEnable WiFi Calling On Galaxy Note 9
- 3 Easy Fixes Galaxy Note 9 Voicemail Notification Won’t Go Away
- 2 Simple Ways To Take A Screenshot On Samsung Galaxy Note 9
- 10+ Easy Ways To Fix Galaxy Note 9 Won’t Connect To WiFi
- Galaxy Note 9 Won’t Charge: 10+ Super Easy Fixes To Try Now
- 2 Quick Easy Ways To Download/Install Note 9 Android Pie